Noobs Guide to using CocoaPods with Swift
Have you ever seen a cool CocoaPods library that you want to use in your Swift app but you have no idea how CocoaPods worked or you tried once and it was too complicated? Well fear no more this tutorial will make you a CocoaPods hero in no time showing you the easiest method to use it! We will do this by showing you how to make a app that rains confetti by leveraging Cocapods! Neat!

What you will learn
- What is CocoaPods
- How to install CocaPods
- How to setup & use CocoaPods with your XCode project in Swift
- You will have a Confetti App at the end of this that uses CocoaPods!
What is Cocoapods?
Cocoapods is a dependency manager for XCode project. In a nutshell it allows you to take other library’s of code people have written to perform specific functions and use it in your own project.
For example one popular library (Also known as a pod) is AFNetworking which allows you to easily perform networking tasks really easy. One use might be if you had an app where by you needed to upload people’s profile pictures to your server.
How do I install CocoaPods?
To install CocoaPods simply open up the terminal app and run the following command:
sudo gem install cocoapods
It can take up to 5 minutes to install – so if you see no activity on your screen don’t worry, once it installs you will see the following output:
How do I set it up with my XCode Project?
Now that you have CocoaPods setup to use it with XCode simply create a project as you normally would. In this tutorial we are using a blank single view application project. Once you have it setup close down XCode and Navigate to the folder where you saved the project as follows:

Now that we have the folder open in Finder it’s time to install a CocoaPod. The pod we are using is SAConfettiView to make it rain Confetti in our app! The link to this can be found here.
You will notice the instructions to install it are as follows, if you haven’t done it before it’s quite confusing!
“SAConfettiView is available through CocoaPods. To install it, simply add the following line to your Podfile:
pod "SAConfettiView"
And then run:
$ pod install
How do setup I add something to my podfile
So in the last few paragraphs remember I told you to navigate to your project folder? Well to setup our podfile we need to navigate to it in terminal. The easiest way is with terminal open type “cd” then grad drag the top level folder into terminal as follows:
 Once this is done press enter in terminal, it will now will be looking at your project’s folder directory so we can setup our podfile. To do this with the terminal still open type:
pod init
You won’t see any output but our project folder will now have a new file called “Podfile” as follows:

Now that this is setup we can add the SAConfettiView pod to our project. To do this open up the newly created podfile in your favorite text editor, we will use textedit in this example as it comes install by default. To do this right click the podfile, select open with and choose textedit.
With the file open you will see the following, we have added the pod “SAConfettiView” line to the file, the rest of the text is there by default.
 .
.
What this is doing is telling CocoaPods that we want to use the pod “SAConfettiView” in our target “CocoaPodsDemo” (Recall this is the name of our project – see the project folder screenshot above and you will see this!)
Once you are happy with this save and close the podfile. Now go back to terminal (Still in our project folder directory) to install the pod to our project run the following command:
pod install

This will read the podfile we edited, and install any pods we added in there, neat eh! Now that is installed you will notice a few new files in your project’s folder as follows:

The main file we need to know is the .xcworkspace file. When we open our project we now need to use this one, as it will open our project along with the integrated pod we installed from CocoaPods. Go ahead and open up this file, when XCode opens up on the left pane you will see a Pods folder, this means the install was sucessfull.

Using the Confetti View Pod in our project
Simply change or modify ViewController.swift to look like the following use the Confetti view in our project:
import UIKit
import SAConfettiView // Import the ConfettiView/Library Pod

class ViewController: UIViewController {

    var confiettiView: SAConfettiView! // The Confetti Vie!

    override func viewDidLoad() {
        super.viewDidLoad()

        confiettiView = SAConfettiView(frame: self.view.bounds) // Setup our confetti View
        self.view.addSubview(confiettiView) // Add it to the screen
        confiettiView.startConfetti() // Make it rain confetti!

        // Do any additional setup after loading the view, typically from a nib.
    }

}
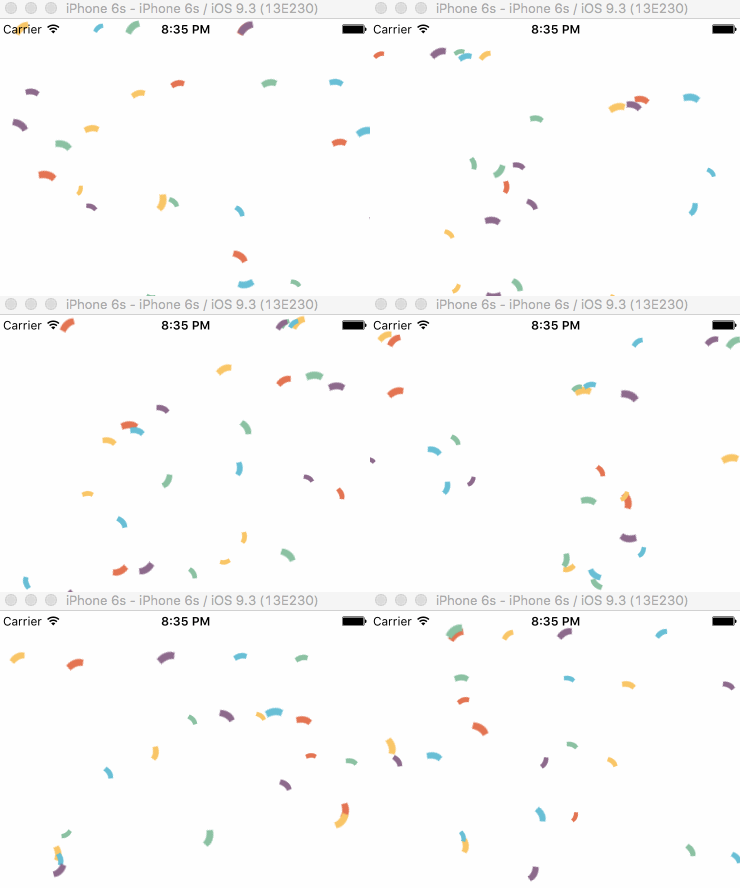
Now run your project, congratulations it is raining confetti and you have setup CocoaPods successfully!
You can download the source code for this project below, please note that downloading source code that uses CocoaPods files in the project, you will need to run pod install in the project folder once.


