How to add a Simple Scroll View in the Storyboard to your App
This tutorial will cover adding a simple Scroll View in the Storyboard to your app. We will be showing vertical scrolling, but it can easily be adapted to scroll vertically as well.
First of all, create a new single view application and open up the storyboard. Drag a UIScrollView onto the storybord as follows:

Then set the constraints as follows (Select the red lines for the spacing to nearest neighbour)

With this done, select the View Controller. Then at the top right show the size inspector. Then change the simulated size to Freeform, and set the height to 1000. This will give us space to place objects on the scroll view in the storyboard, and allow it to scroll.
![]()

Next up we place the two labels on the scroll view so we can test that it actually works:

Next up select the scroll view, we need to connect it up to our view controller to add one line of code to allow it to scroll! Select the assistant editor in the top right, and hold the control key and drag the line to the ViewController.swift. Now drop it and create an outlet called myScroll, it will add the following:
@IBOutlet var myScroll: UIScrollView!
Next add the following line of code to viewDidLoad()
myScroll.contentSize = CGSize(width: self.view.frame.width, height: 1000)
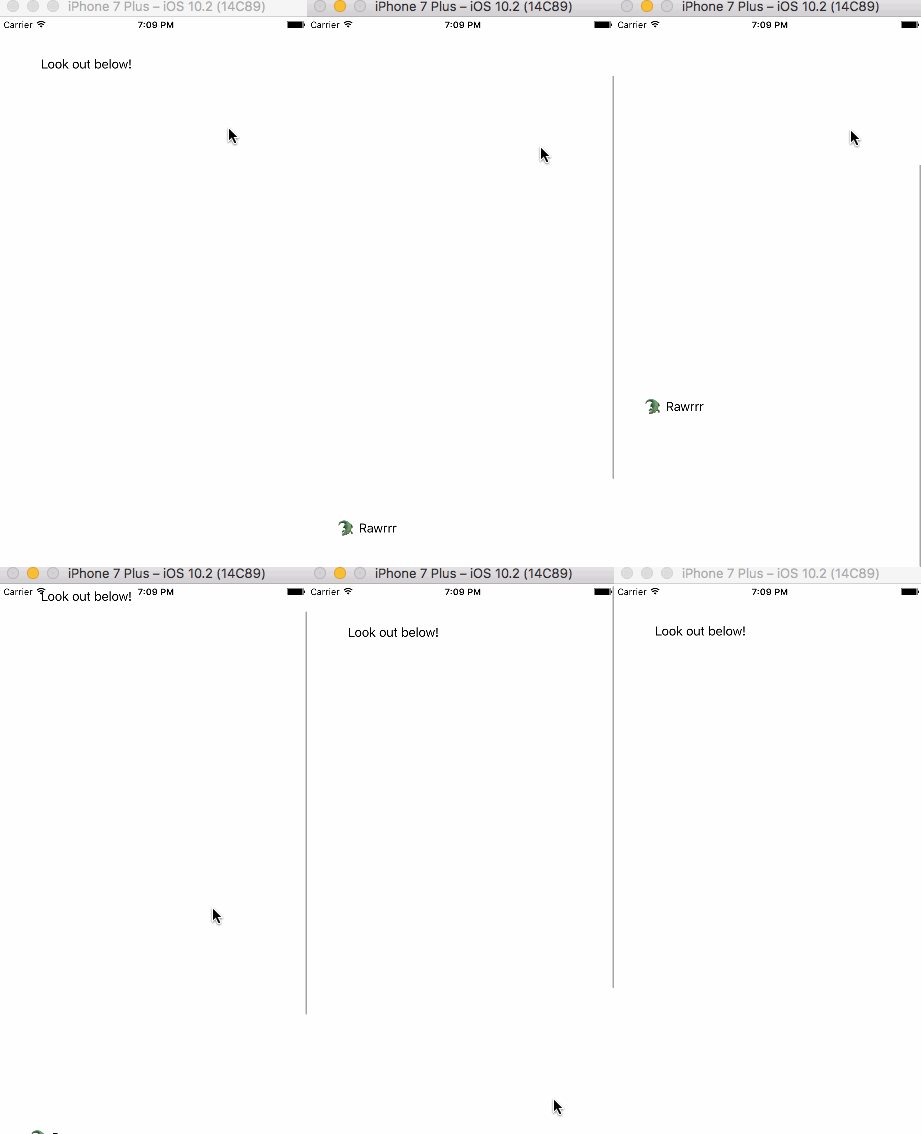
The content size sets how far in each direction you can scroll. We set ours to the width of the current device, and the height to 1000, which if you recall is the height we set the View Controller in the storyboard. Now if you run your app you can see it scrolling as follows:


